Microsoft Office Outlook 2020裁剪图片的详细流程
第一步:首先我们打开电脑上的Microsoft Office Outlook(微软邮箱)软件,新建一个文件(如图所示)。
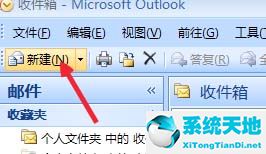
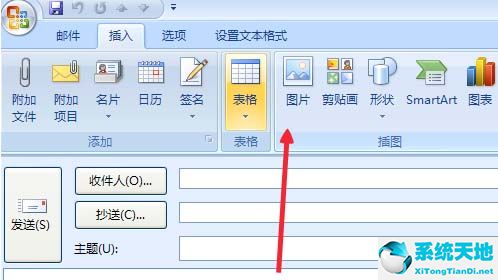
第二步:新建文件之后,我们点击上边的插入的选项卡(如图所示)。
第三步:这时图片已经被我们插入到文档里面了,我们先调整一下图片大小(如图所示)。
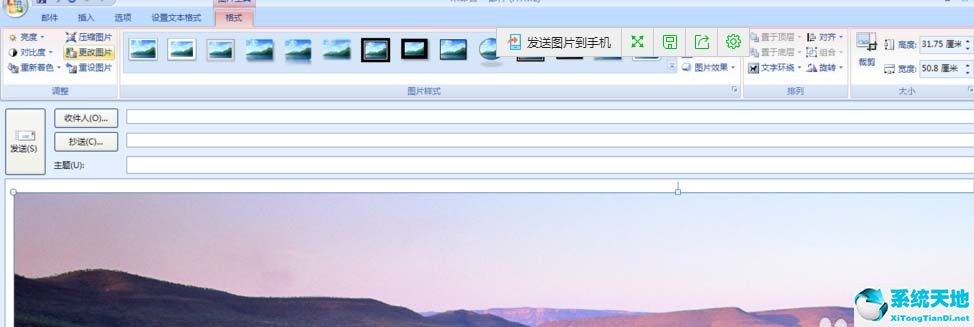
第四步:接下来调整到差不多就行了(如图所示)。
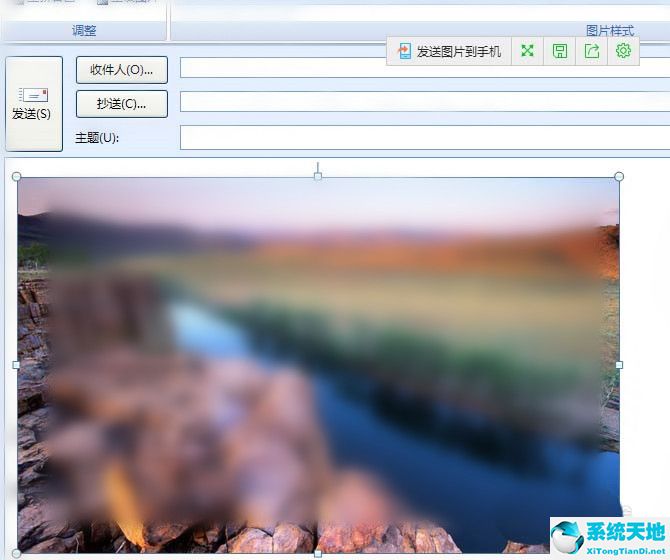
第五步:目前我们是格式的选项卡下边,点击上边的裁剪的按钮(如图所示)。
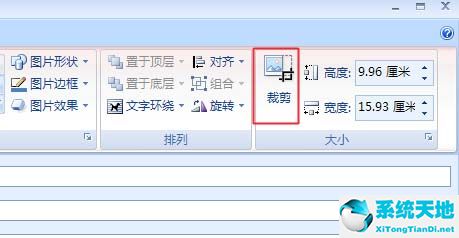
第六步:最后多余的图片就被我们裁剪掉了(如图所示)。

以上就是小编给大家带来的Microsoft Office Outlook 2020怎么裁剪图片的全部内容,希望能够帮助到大家哦。


 苏公网安备32032202000432