pycharm增加程序配置文件的详细流程讲解
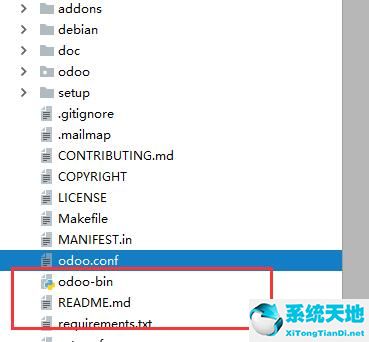
首先使用pycharm新建一个项目,项目中的启动文件如图所示
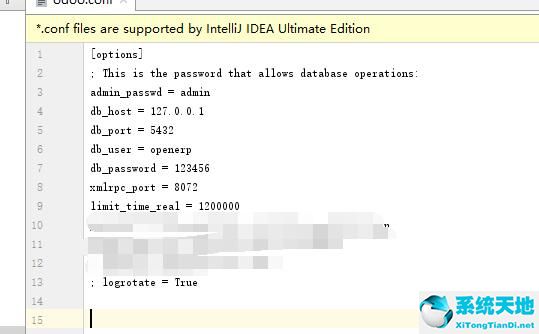
给项目增加了一个启动配置文件,如图所示,配置文件中列出了数据库的连接信息
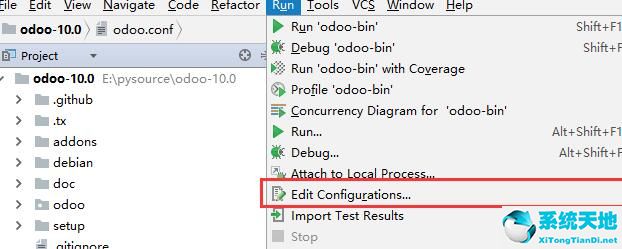
接下来看一下怎么在启动的时候附加上这个配置文件,首先找到菜单栏的Run—>Edit Configurations选项
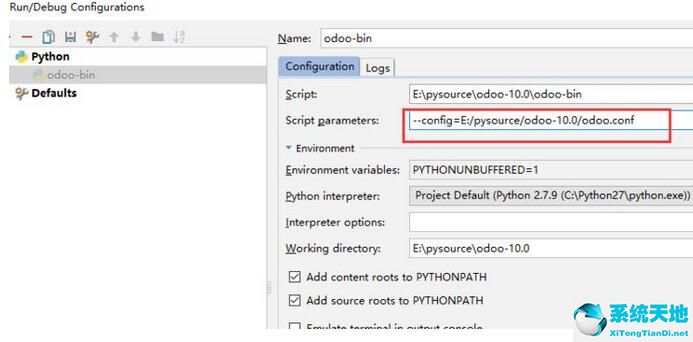
点击以后会弹出配置窗口,如图所示,在配置窗口中,编辑器会自动定位到你的启动入口文件上

在下面的红框的地方添加我们的配置文件的地址,如图所示:
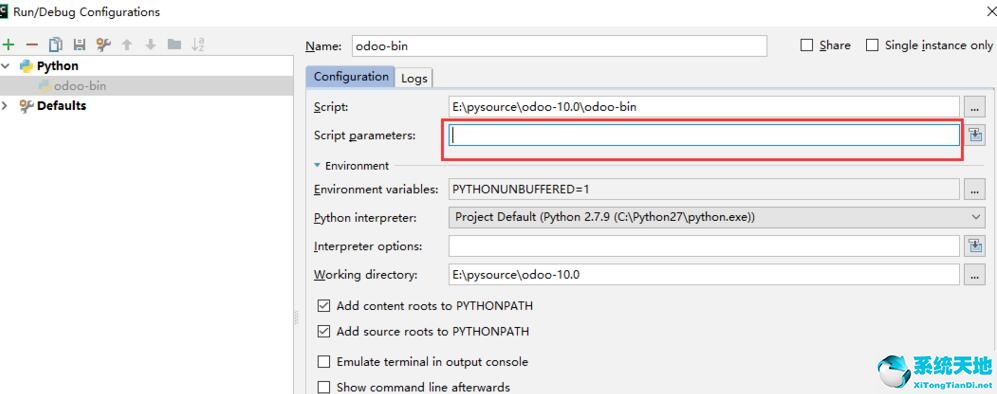
注意添加的地址前面带上config,一定要写上,否则会报错的
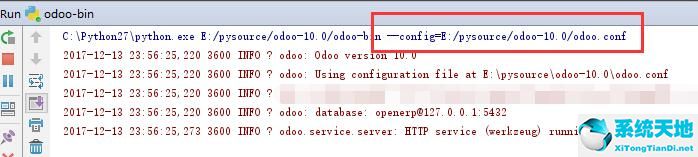
最后我们启动,来看一下输出内容,你会看到已经加载了我们的配置文件,如图所示:
上面就是小编为大家带来的pycharm增加程序配置文件的详细方法,一起来学习学习吧。相信是可以帮助到一些新用户的。


 苏公网安备32032202000432