win7网络适配器驱动程序如何安装?win7网络适配器驱动程序的安装方法
小伙伴们知道win7网络适配器驱动程序如何安装吗?今天小编就来讲解win7网络适配器驱动程序的安装方法,感兴趣的快跟小编一起来看看吧,希望能够帮助到大家。
win7网络适配器驱动程序如何安装:
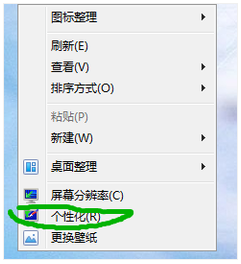
1、右键桌面点击个性化(如图所示)。
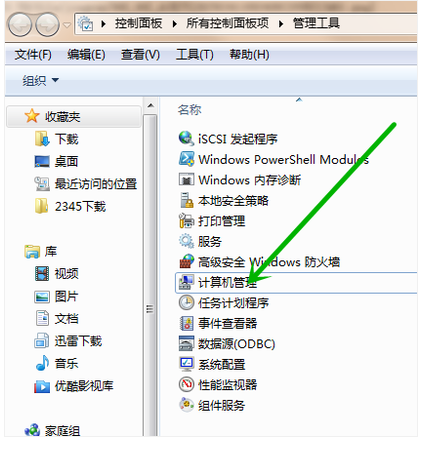
2、进入控制面板主页,选中:管理工具(如图所示)。

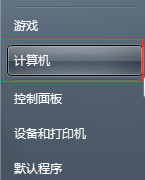
3、点击进入管理工具找到“计算机管理”(如图所示)。
4、点击其中的“设备管理器”找到次选项中的“网络适配器”(如图所示)。

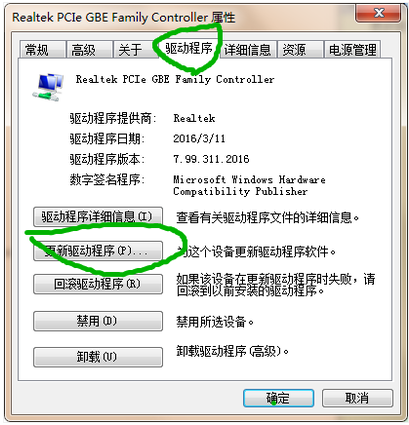
5、点开网络适配器下方的网卡驱动,在上方选项栏中找到“驱动程序”,然后选择更新驱动程序(如图所示)。


 苏公网安备32032202000432