Win10系统怎么卸载.Net3.5.4.7,4.8组件?Win10系统卸载.Net3.5.4.7,4.8组件的方法
近期有很多小伙伴咨询小编Win10系统怎么卸载.Net3.5.4.7,4.8组件,接下来就让我们一起看一下Win10系统卸载.Net3.5.4.7,4.8组件的方法吧,希望可以帮助到大家。
Win10系统怎么卸载.Net3.5.4.7,4.8组件?Win10系统卸载.Net3.5.4.7,4.8组件的方法
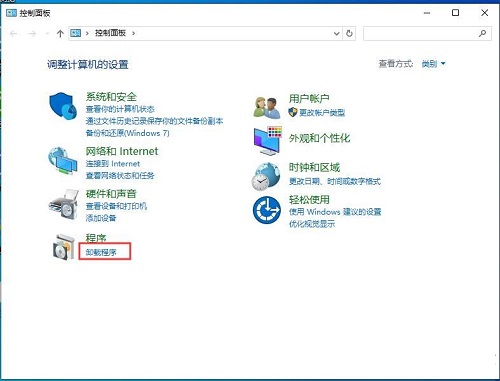
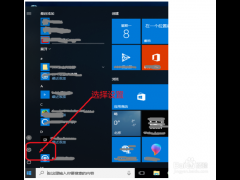
1、首先打开控制面板,如下图所示。

2、再点击卸载程序,如下图所示。
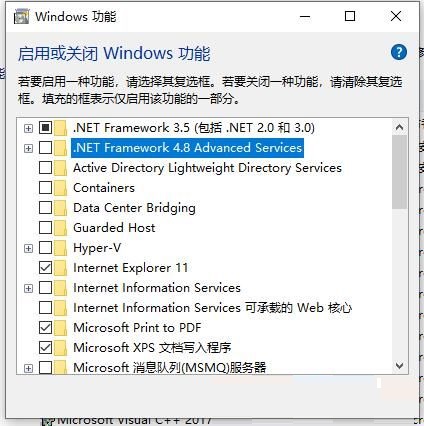
3、点击左边的启用或关闭Windows功能,如下图所示。

4、这时我们可以看到组件列表中有.Net3.5 和4.8版本,把你要卸载的取消勾选,然后点击确定,如下图所示。


 苏公网安备32032202000432