ProcessOn的使用操作教程讲述
打开浏览器(谷歌),搜索ProcessOn,点击进去网站;
点击注册,输入邮箱,帐号,密码和昵称进行注册登录,当然也可直接使用QQ或微博登录;

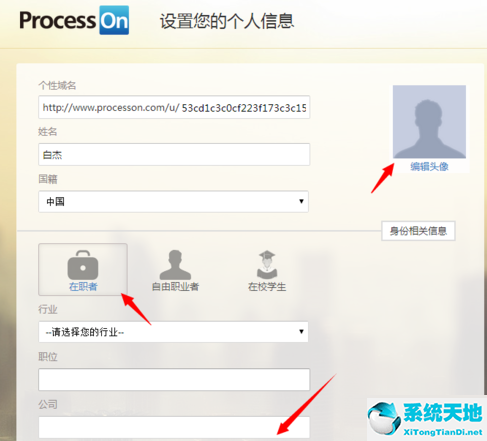
注册登录后,需简单完善一下个人信息,也可直接点击完成,以后再完善;
这时,进来个人网络,点击有上角的“新建文件”开始创造第一张图;

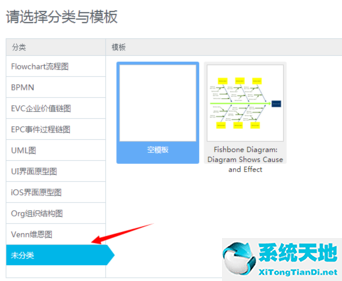
每次作图之前,需选择一下分类,因为ProcessOn是支持多种标准格式作图的,若没有想找的分类,则点击未分类即可;
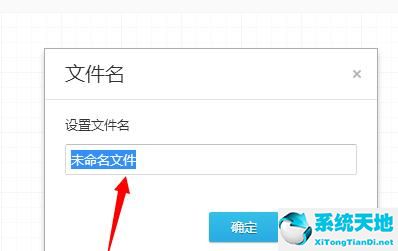
进来设计器后,第一步,需先给文件起个名字,点击确定即可。
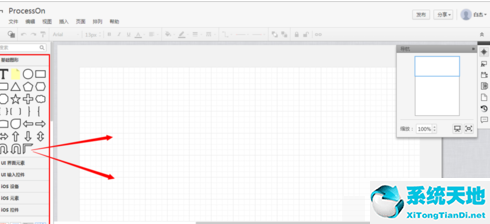
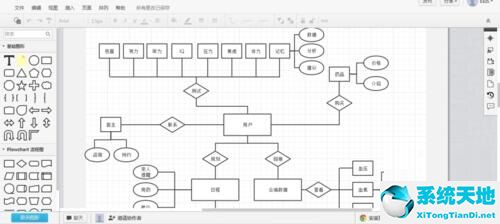
从左侧原型图库,选中图形,按住左键拖拽到右侧画布即可,以后也可随时选中图形拖拽调整位置;
完成
各位小伙伴们,看完上面的精彩内容,都清楚ProcessOn的使用操作内容了吧!


 苏公网安备32032202000432