win7如何开启主板自带热点?win7开启主板自带热点的方法
近日有一些小伙伴咨询小编win7如何开启主板自带热点?下面就为大家带来了win7开启主板自带热点的方法,有需要的小伙伴可以来了解了解哦。
win7如何开启主板自带热点:
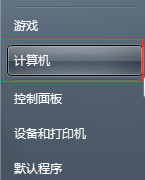
1、首先打开“控制面板”(如图所示)。

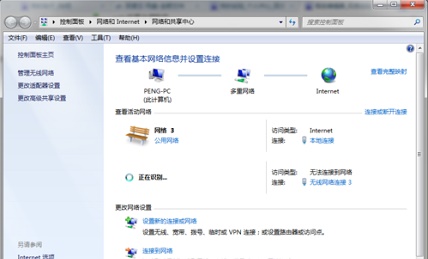
2、点击进入“网络和共享中心”(如图所示)。
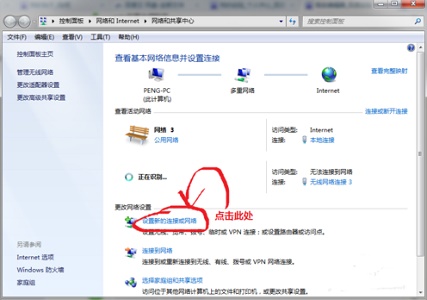
3、点击“设置新的连接或网络”(如图所示)。
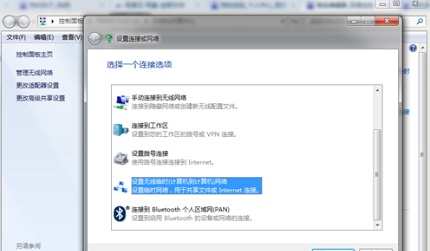
4、选择图示的“设置无线临时网络”(如图所示)。
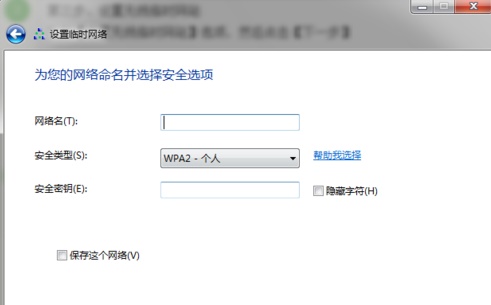
5、设置网络名和密码等,这里的密码是连接到这个网络时的密码,不是自己的网络密码(如图所示)。
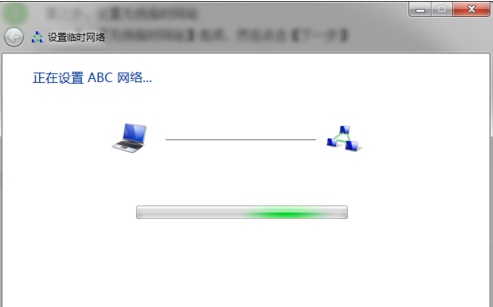
6、等待连接设置完成(如图所示)。
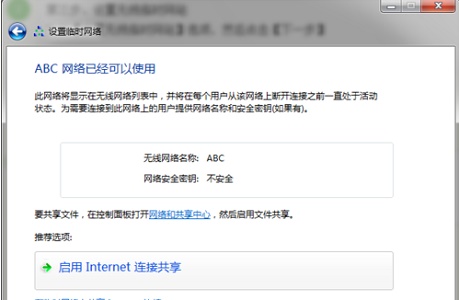
7、设置完成之后选择“启用internet连接共享”即可(如图所示)。


 苏公网安备32032202000432