Win10系统怎么打开SMB1.0功能?Win10系统打开SMB1.0功能的方法
有很多朋友还不知道Win10系统怎么打开SMB1.0功能,所以下面小编就讲解了Win10系统打开SMB1.0功能的方法,有需要的小伙伴赶紧来看一下吧,相信对大家一定会有所帮助哦。
Win10系统怎么打开SMB1.0功能?Win10系统打开SMB1.0功能的方法
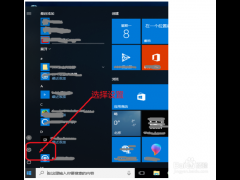
1、首先在任务栏中的搜索功能找搜索【control】,对于控制面板进行打开,如下图所示。
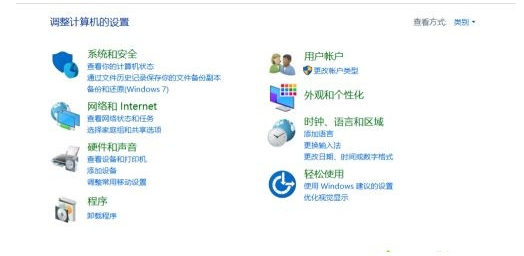
2、点击程序栏目,然后将其启用或关闭Windows功能,如下图所示。
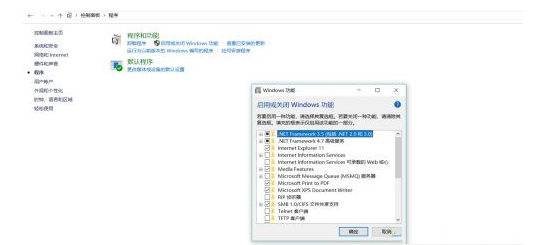
3、然后在页面中找到SMB1.0,选中后,点击确定,然后对于重新启动电脑,如下图所示。

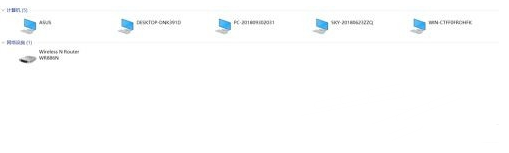
4、开机后打开网络,发现局域网中电脑已经可以看到了,如下图所示。


 苏公网安备32032202000432