Win10如何查看端口占用?Win10查看端口占用的方法
说到Win10系统,想必在座的用户们都不陌生,不过各位在使用的时候知道Win10如何查看端口占用吗?下文就是小编为大伙带来的Win10查看端口占用的方法,对此感兴趣的用户快来下文看看吧。
Win10如何查看端口占用?
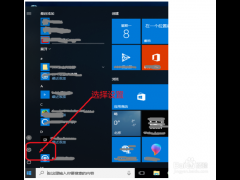
1、按下win+R,输入“cmd”。

2、输入命令:netstat -ano查看所有端口。
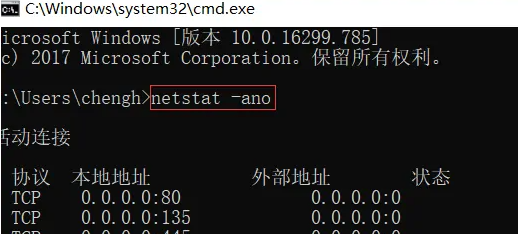
3、输入命令:netstat -ano|findstr “8081查看指定端口。

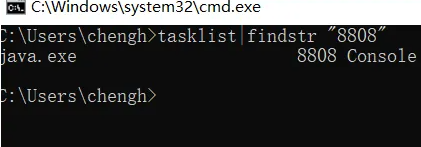
4、查看指定Pid进程信息 tasklist|findstr ”8808“。
5、如果需要删除则可以打开任务管理找到对应进程并结束运行。


 苏公网安备32032202000432