Win8.1系统通过Win10直通车升级到Win10专业版的技巧
自2016年1月12日微软已经停止了对Windows 8的安全更新。同时对旧版IE8、IE9和IE10浏览器也已不在支持。其实微软就是想让我们赶紧都用win10系统 。网上对win10的评价还不错,哪我们就升级呗,再说了升级win10后我们都是正版系统 了。对大多数用盗版系统 的我们也是福音啊。下面我就自己升级win10的过程分享给大家。我用的是百度win10直通车。
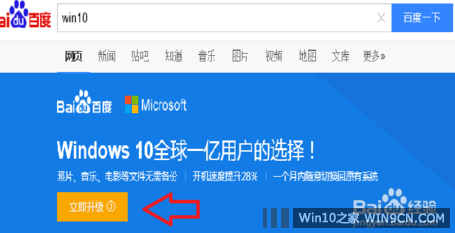
1,百度搜索"win10"。就会出现如下图所示的图片。
我们点一下:立即升级
2,在新弹出的页面我们点:立即下载。
下载完成后,安装此程序。
3,程序安装完成后,桌面上会出现一个“windows10直通车”打开此程序后,点程序右下角的“检测电脑升级条件“
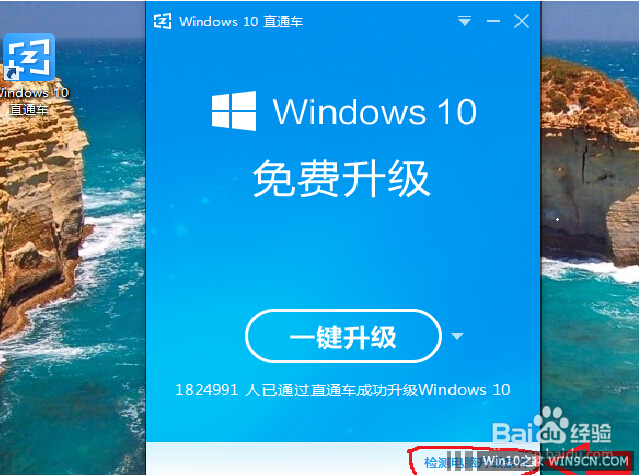
4,这个是用来检测你的电脑是否具备升级win10的条件的,(如果电脑配置低估计会显示不合格)
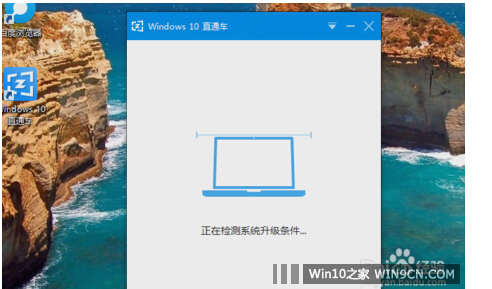
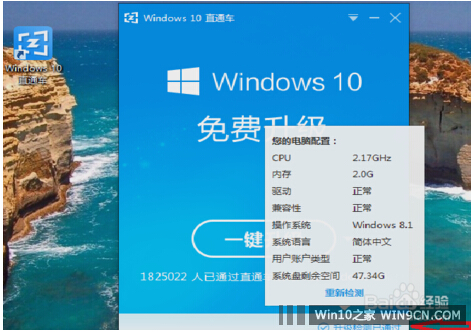
5,检测完成后显示升级检测已通过,把鼠标放在右下角还会显示电脑的基本配置信息。(我的电脑已经有七年历史了,我的win8系统也是盗版的,看来升级win10要求不是很高)
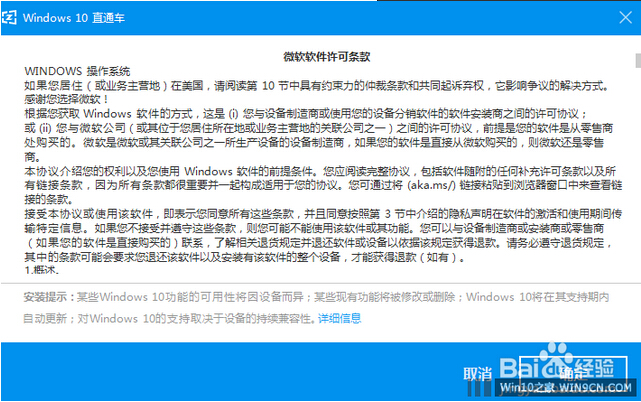
6,点:一键升级。就会弹出微软软件许可条款,直接确定就行。
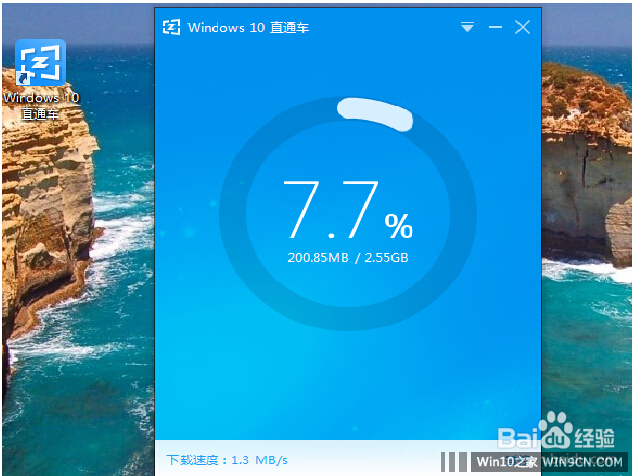
7,这时会下载win10系统iso镜像文件。(我的是存放在d盘的)。
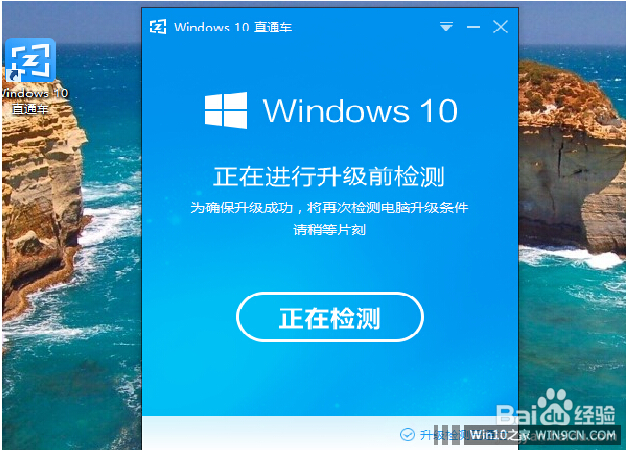
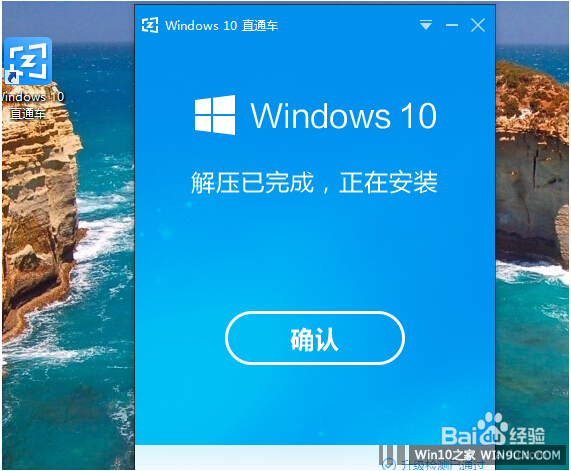
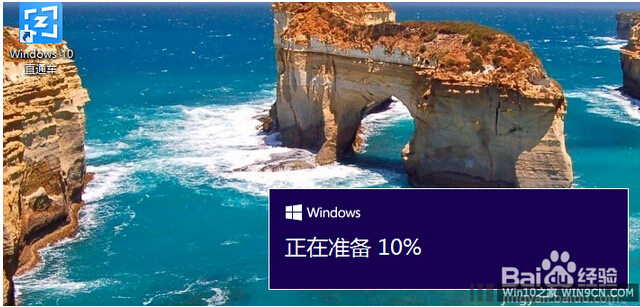
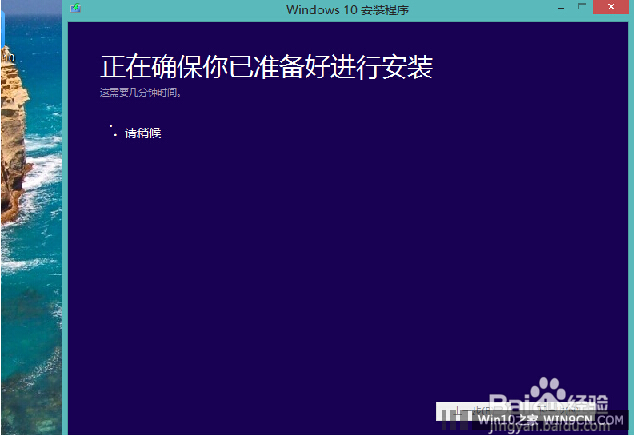
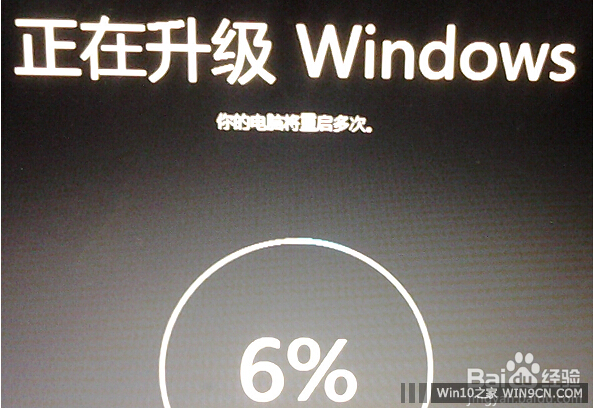
8,下载完成后,会显示:正在进行升级前检测 ,其实后面基本不用我们操作,这里就不多说了。我这里有一些安装过程的照片,大家看一下。

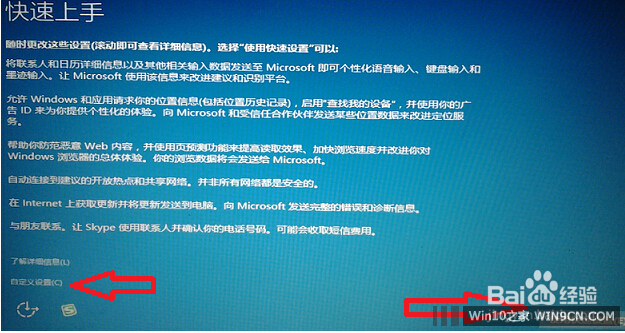
9,安装完成后,会出现:快速上手(其实就是一些基本设置,我们可以选左下角的自定义,也可以选右下角的”使用快速设置“我们选使用快速设置就行,)
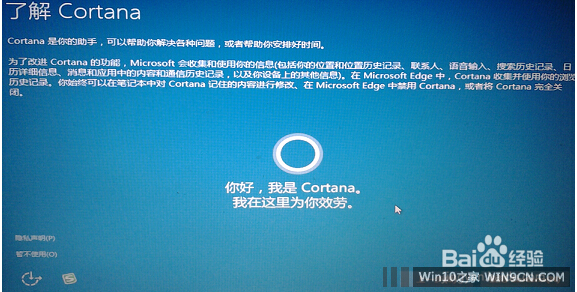
10,这一步是:了解Cortana。(Cortana (中文名:微软小娜)是微软发布的全球第一款个人智能助理,喜欢的可以用一下,我这里选的是暂不使用,事后发现这个程序是无法卸载的)
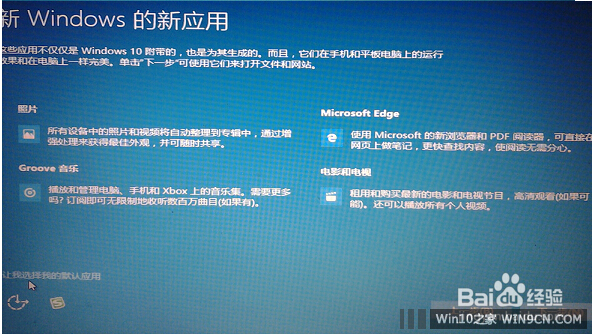
后面还有一些基本设置,我也不说了,我们选下一步就行。
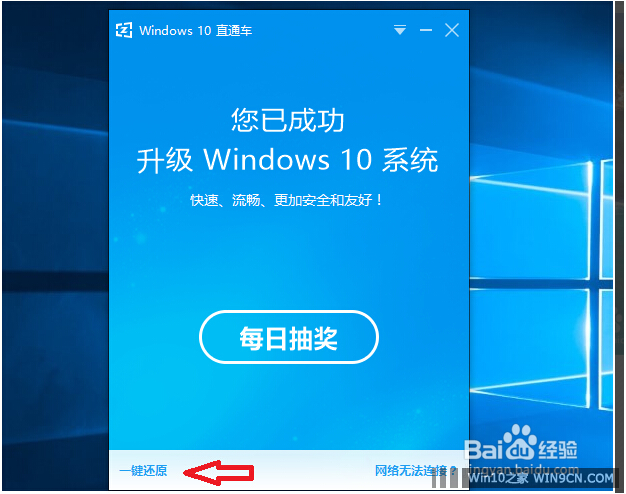
11,电脑重新启动后,就已经升级为win10系统 了。(win10直通车还有一键还原功能,如果升级win10后感觉不好,随时可以还原为原来的系统,不过此功能只能一个月有效)

 苏公网安备32032202000432